
The complete guide
Bike Ceiling Hoist Buyer's Guide, How to Store a Bike Overhead
The problem with a bike on the floor
A bicycle parked against the garage wall does not look like much. In practice, it eats about a square metre of floor, plus the swing room you need to get it in and out without clipping the car door. Add a second bike, a kid's bike, a ladder and the recycling bins and the garage stops being a garage. It becomes a corridor you shuffle sideways through.
The frustrating part is that the space above all that is completely empty. Most garages have two to three metres of unused air between the top of the car and the joists. A bike ceiling hoist puts that air to work. The bike goes up, the floor comes back, and nothing else in the garage has to move.
How a bike pulley lift actually works
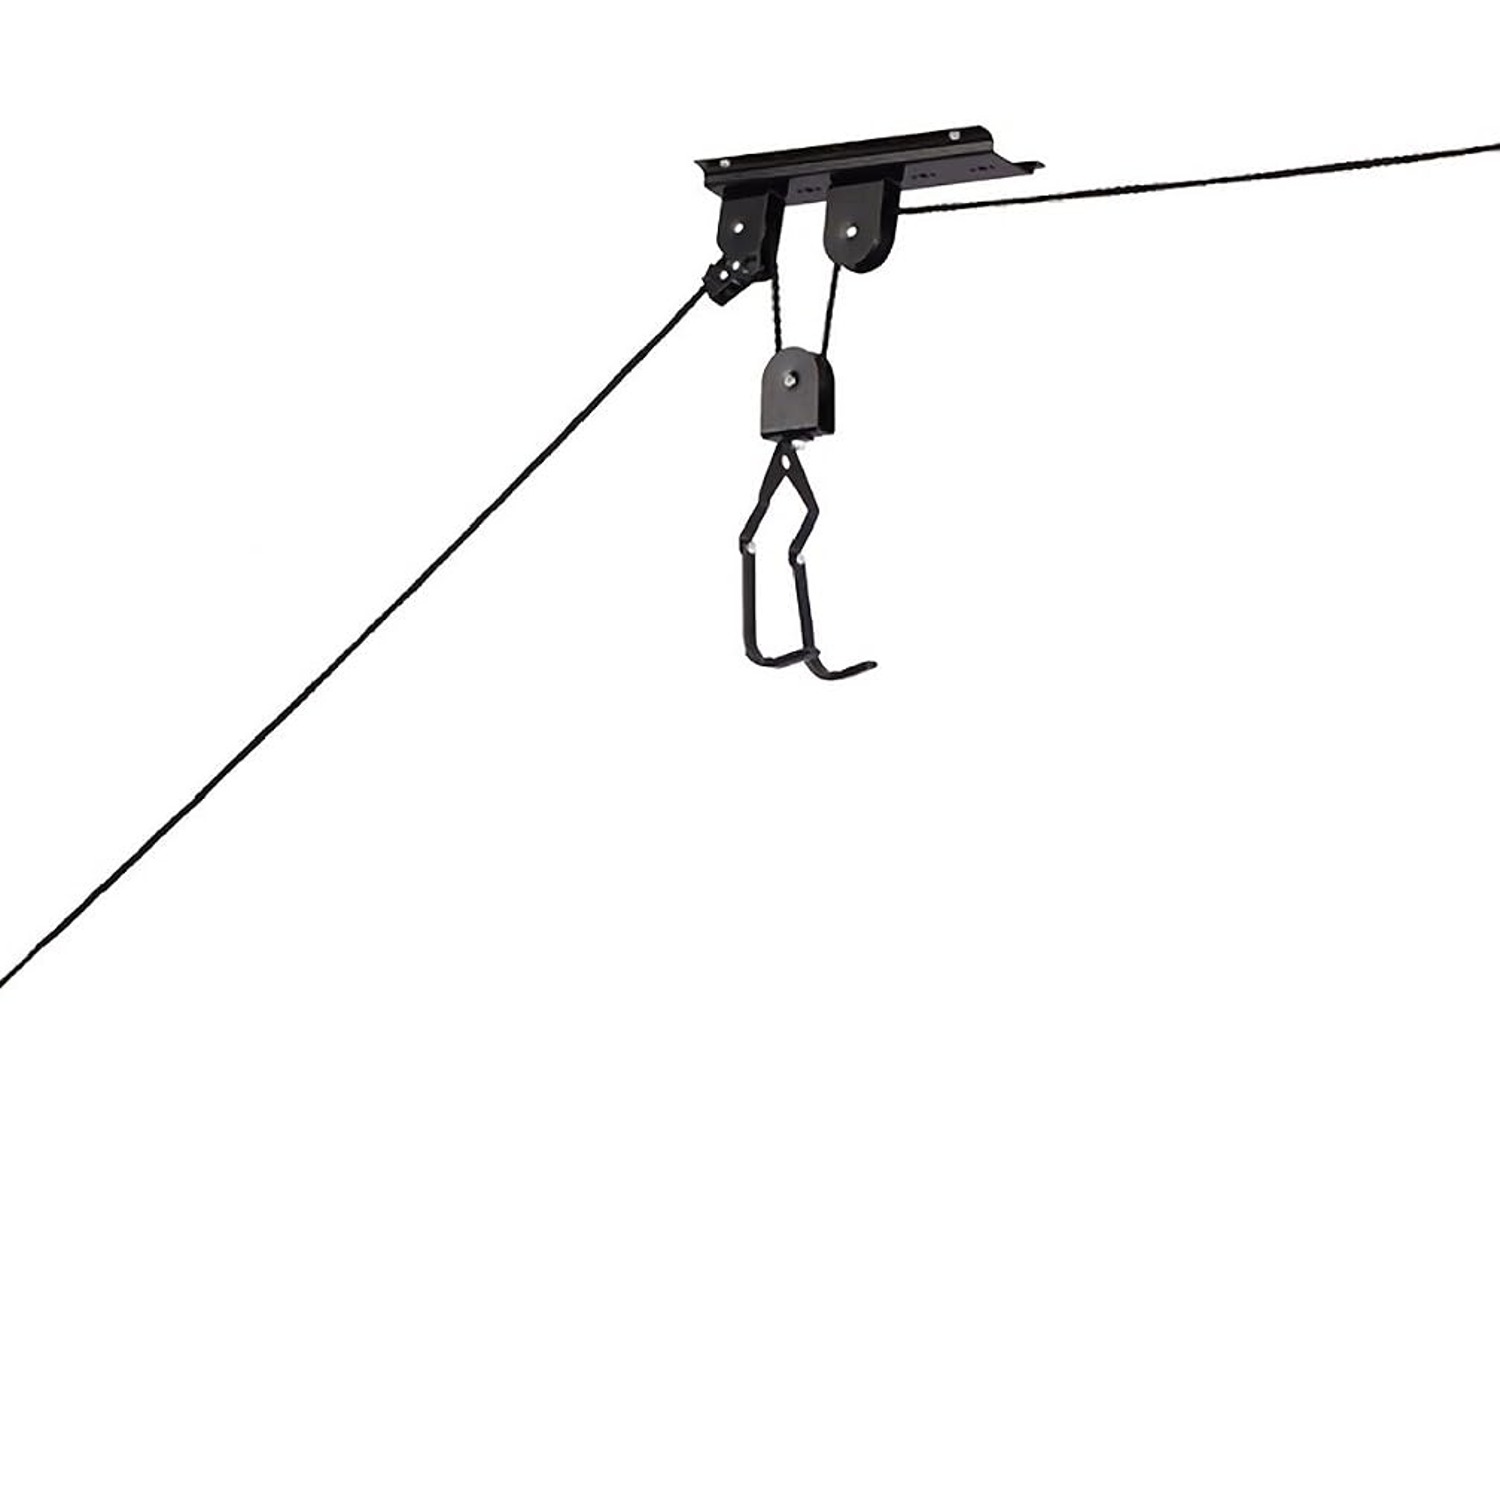
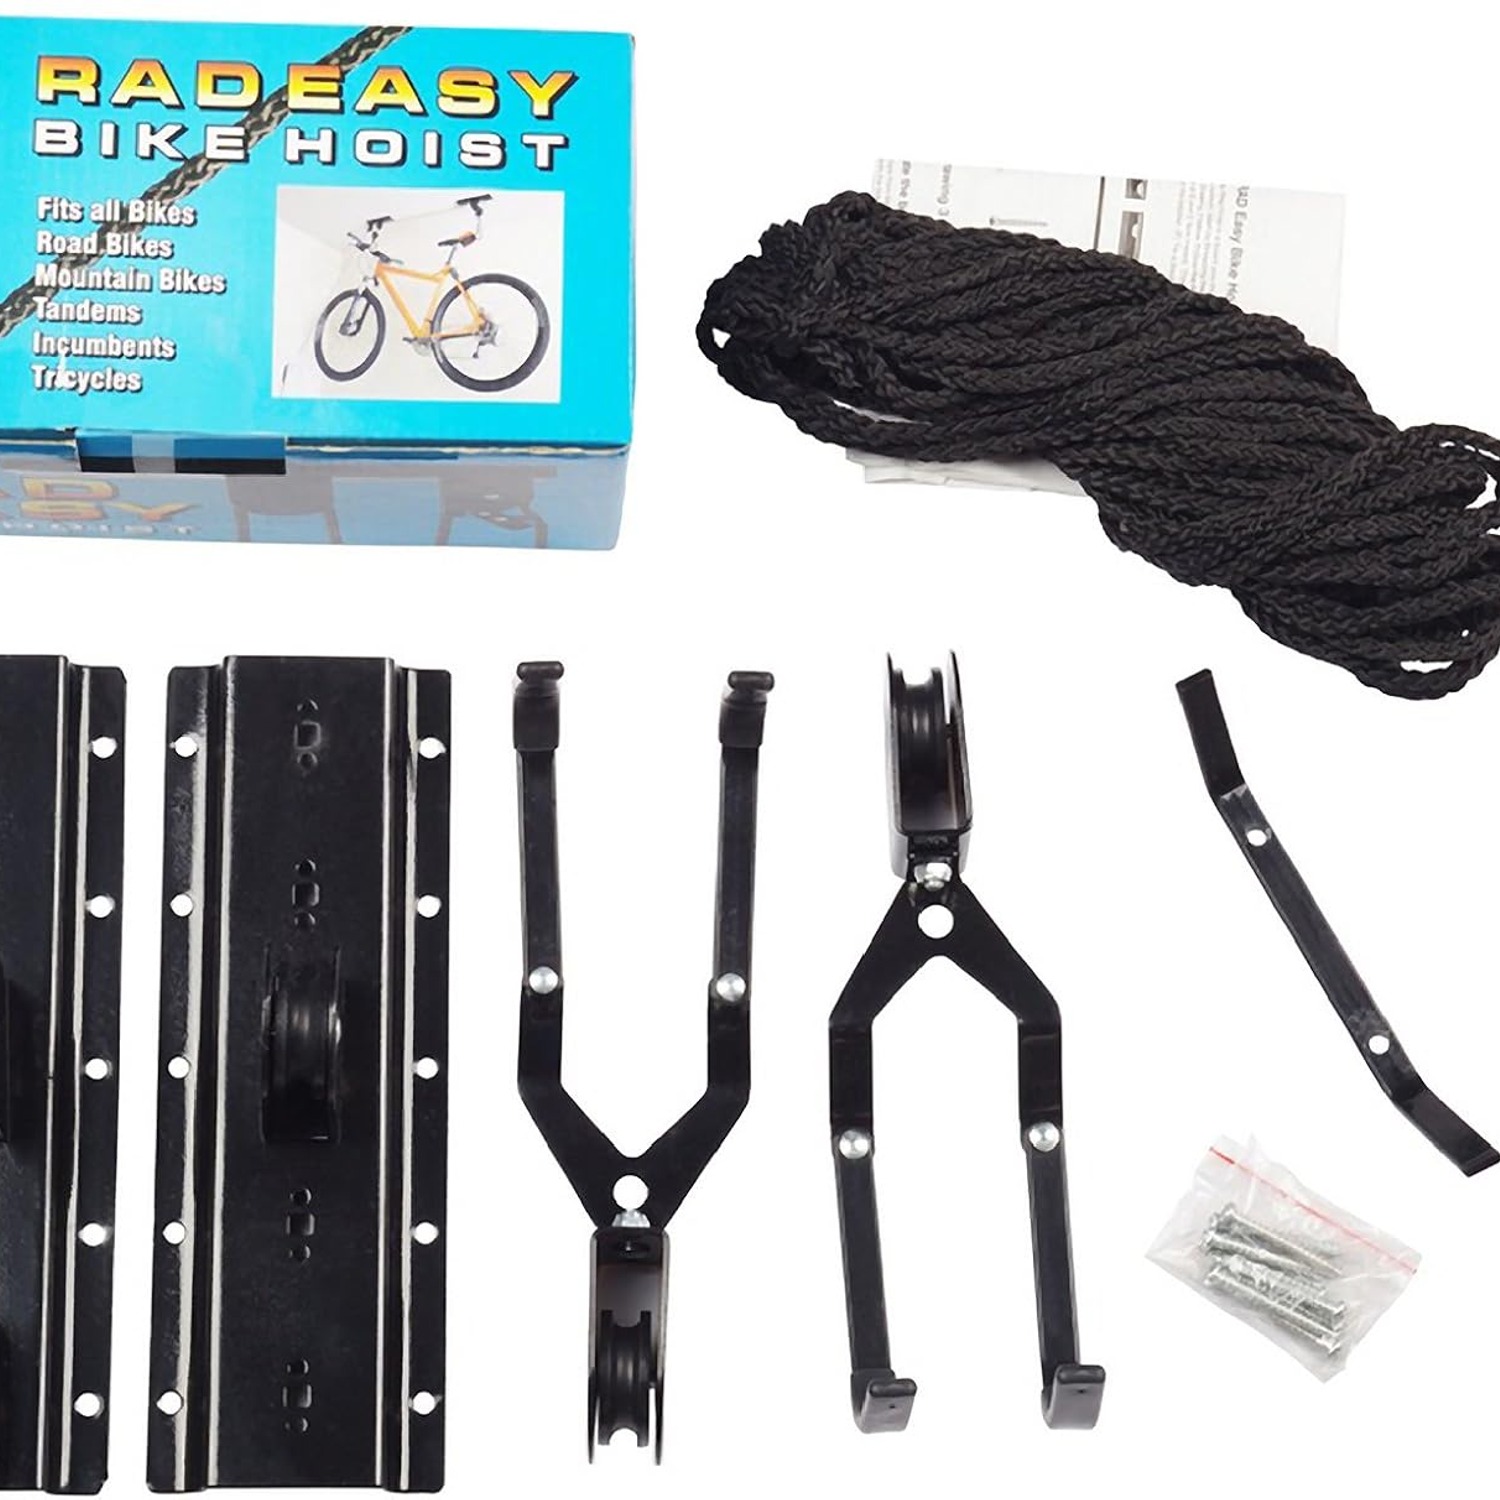
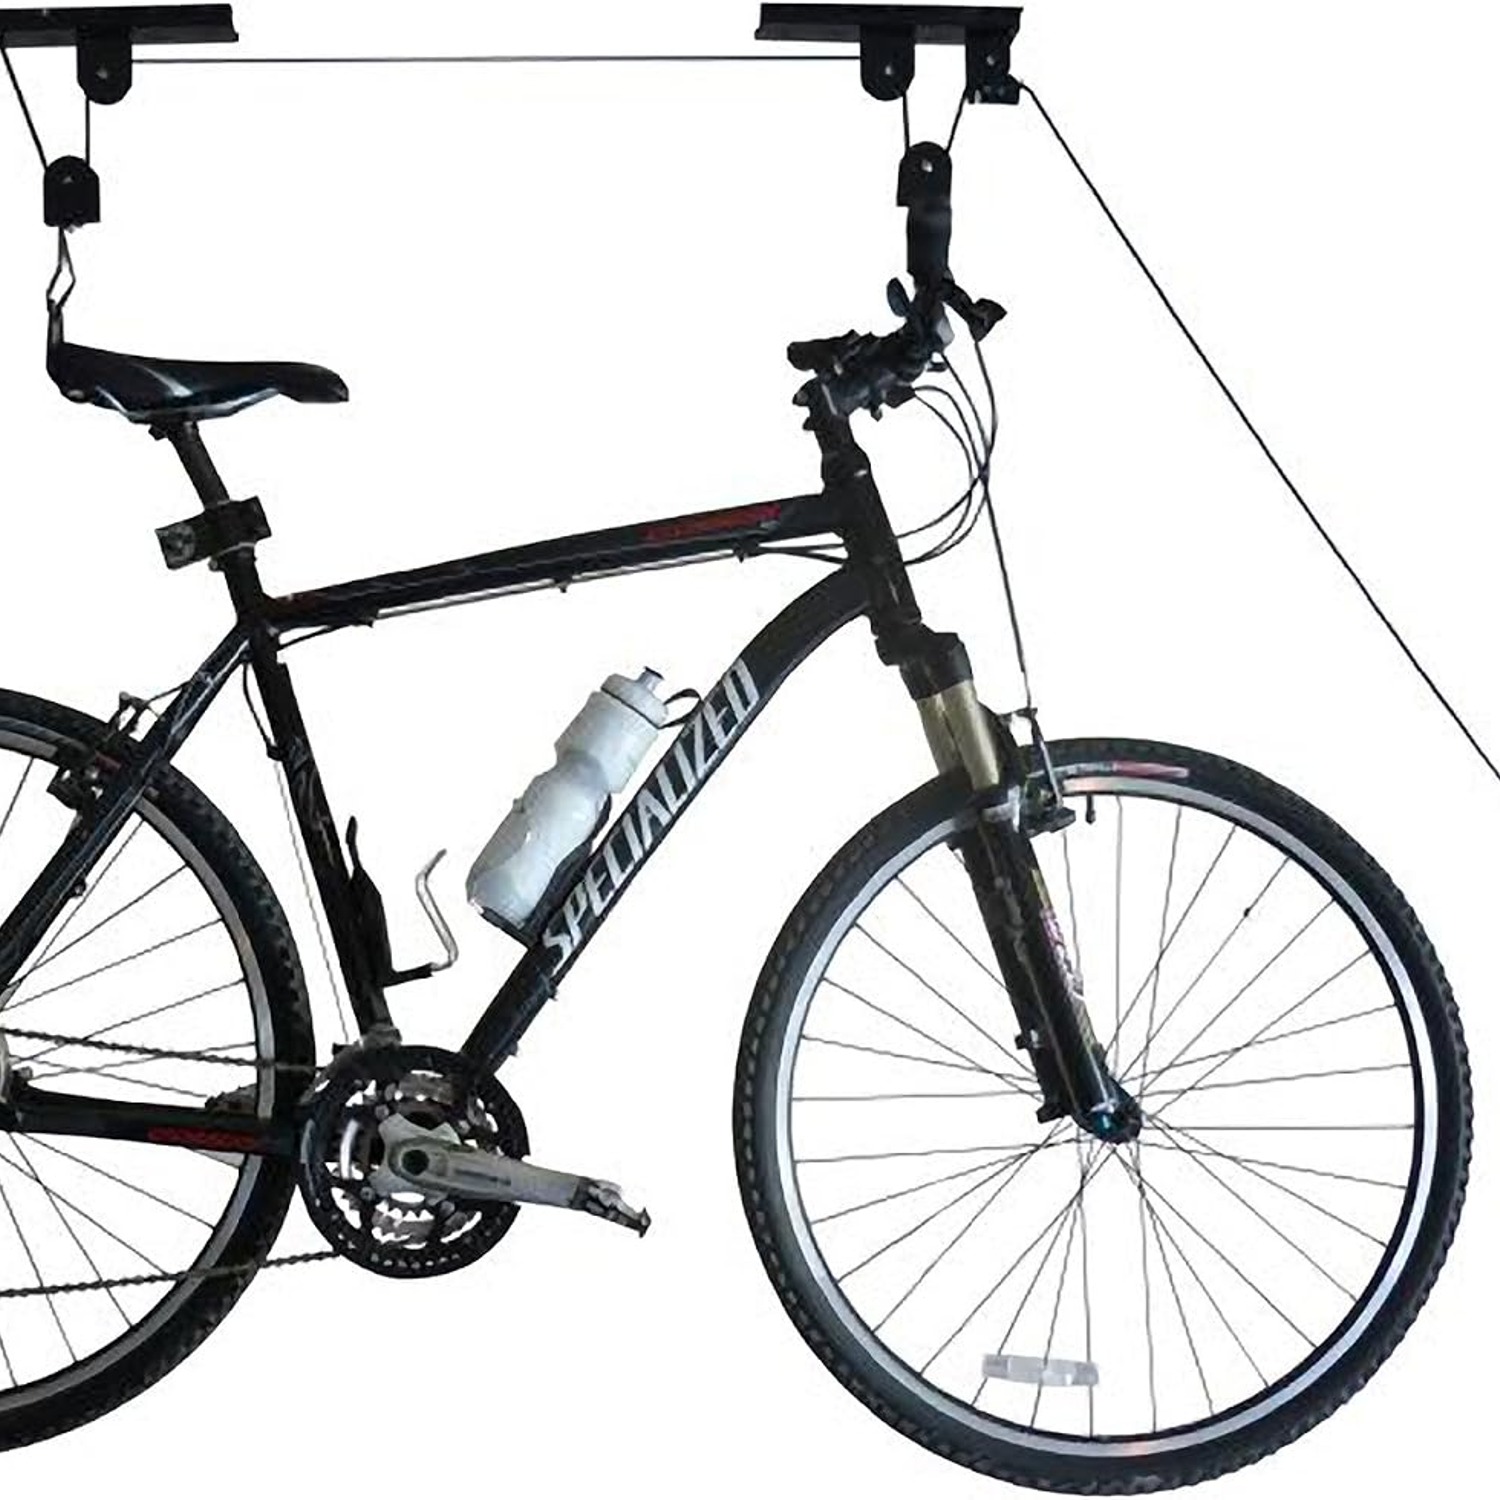
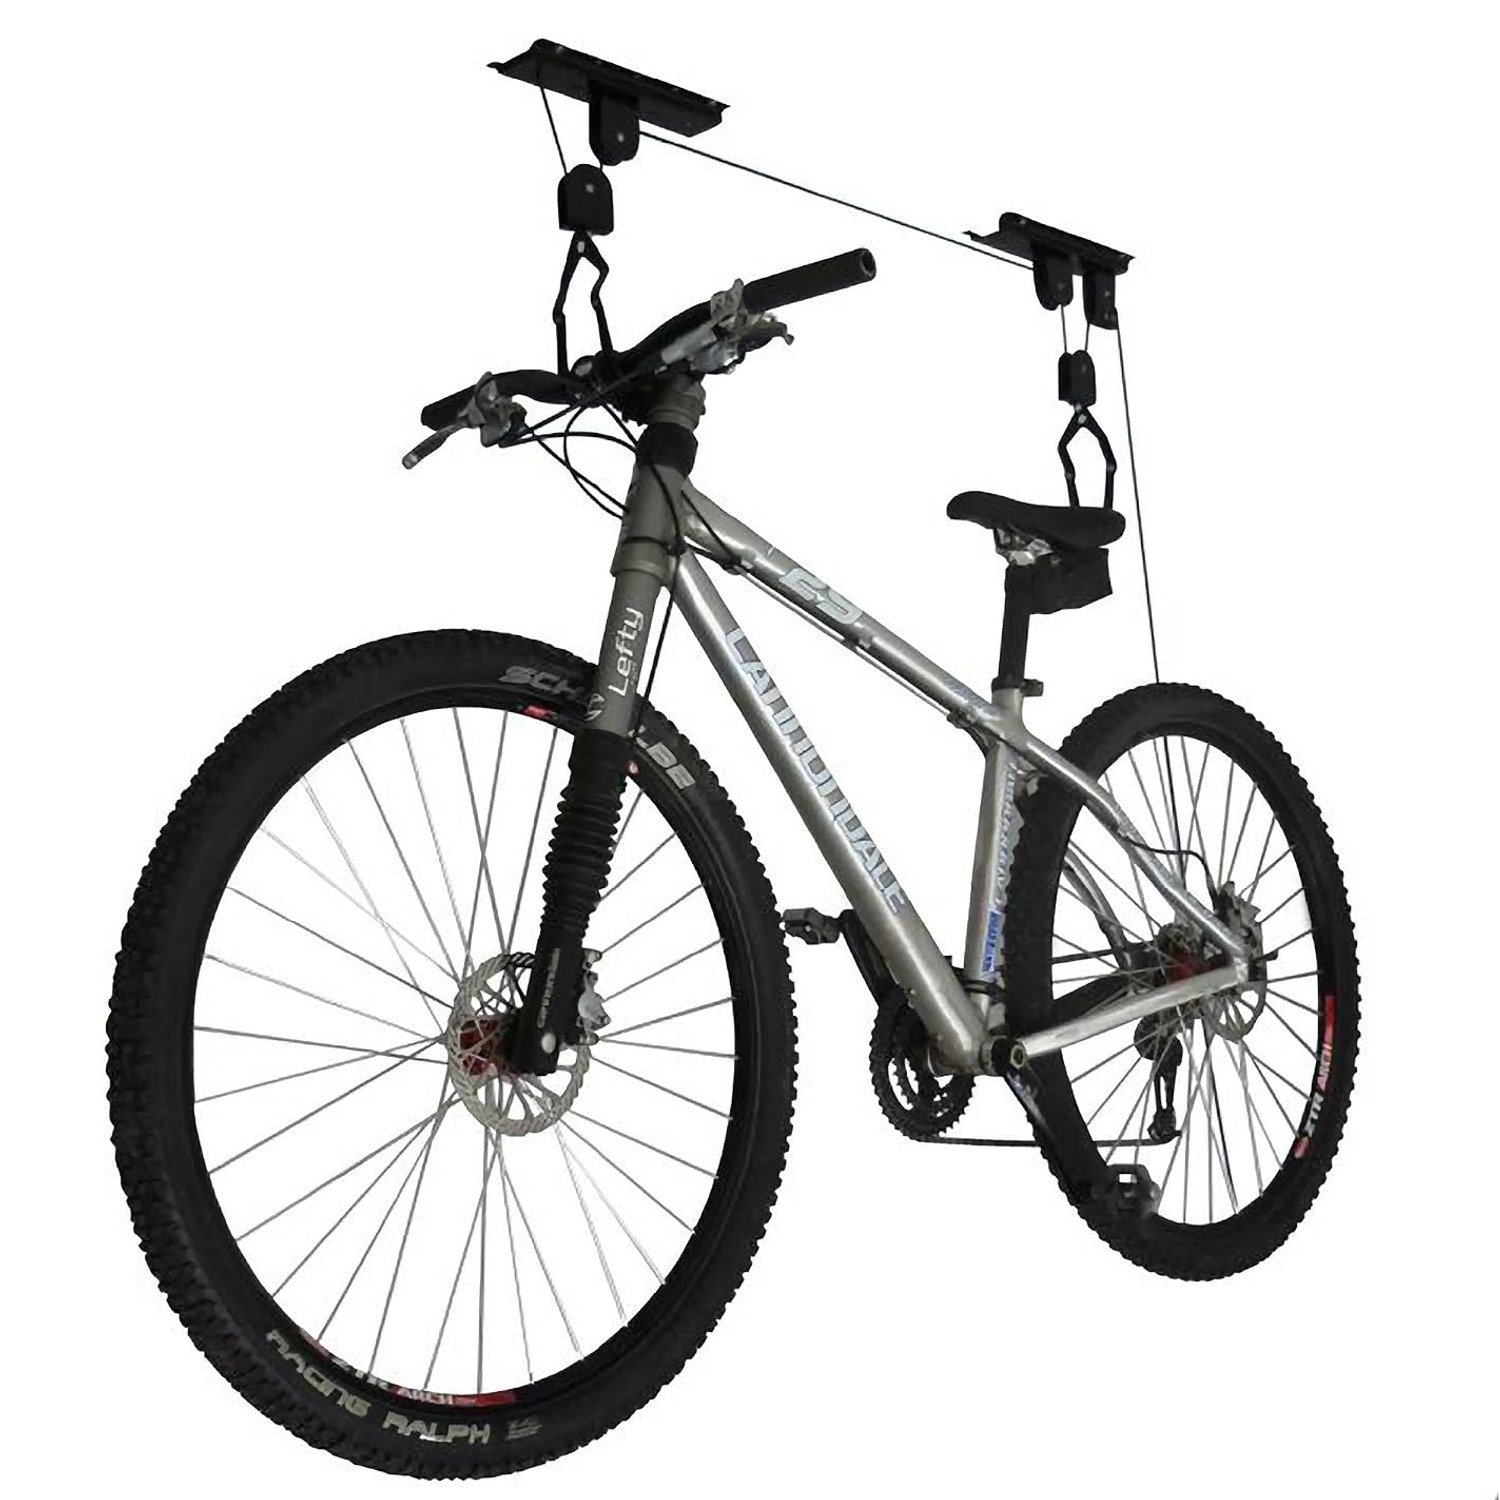
The mechanics here are old and reliable. Two hooks hang from ropes. Those ropes run up through pulleys mounted to your ceiling, across to another pulley, then down to a single pull line that you hold. Because the weight is divided across the system, the bike feels noticeably lighter in your hand than it does when you lift it by the frame.
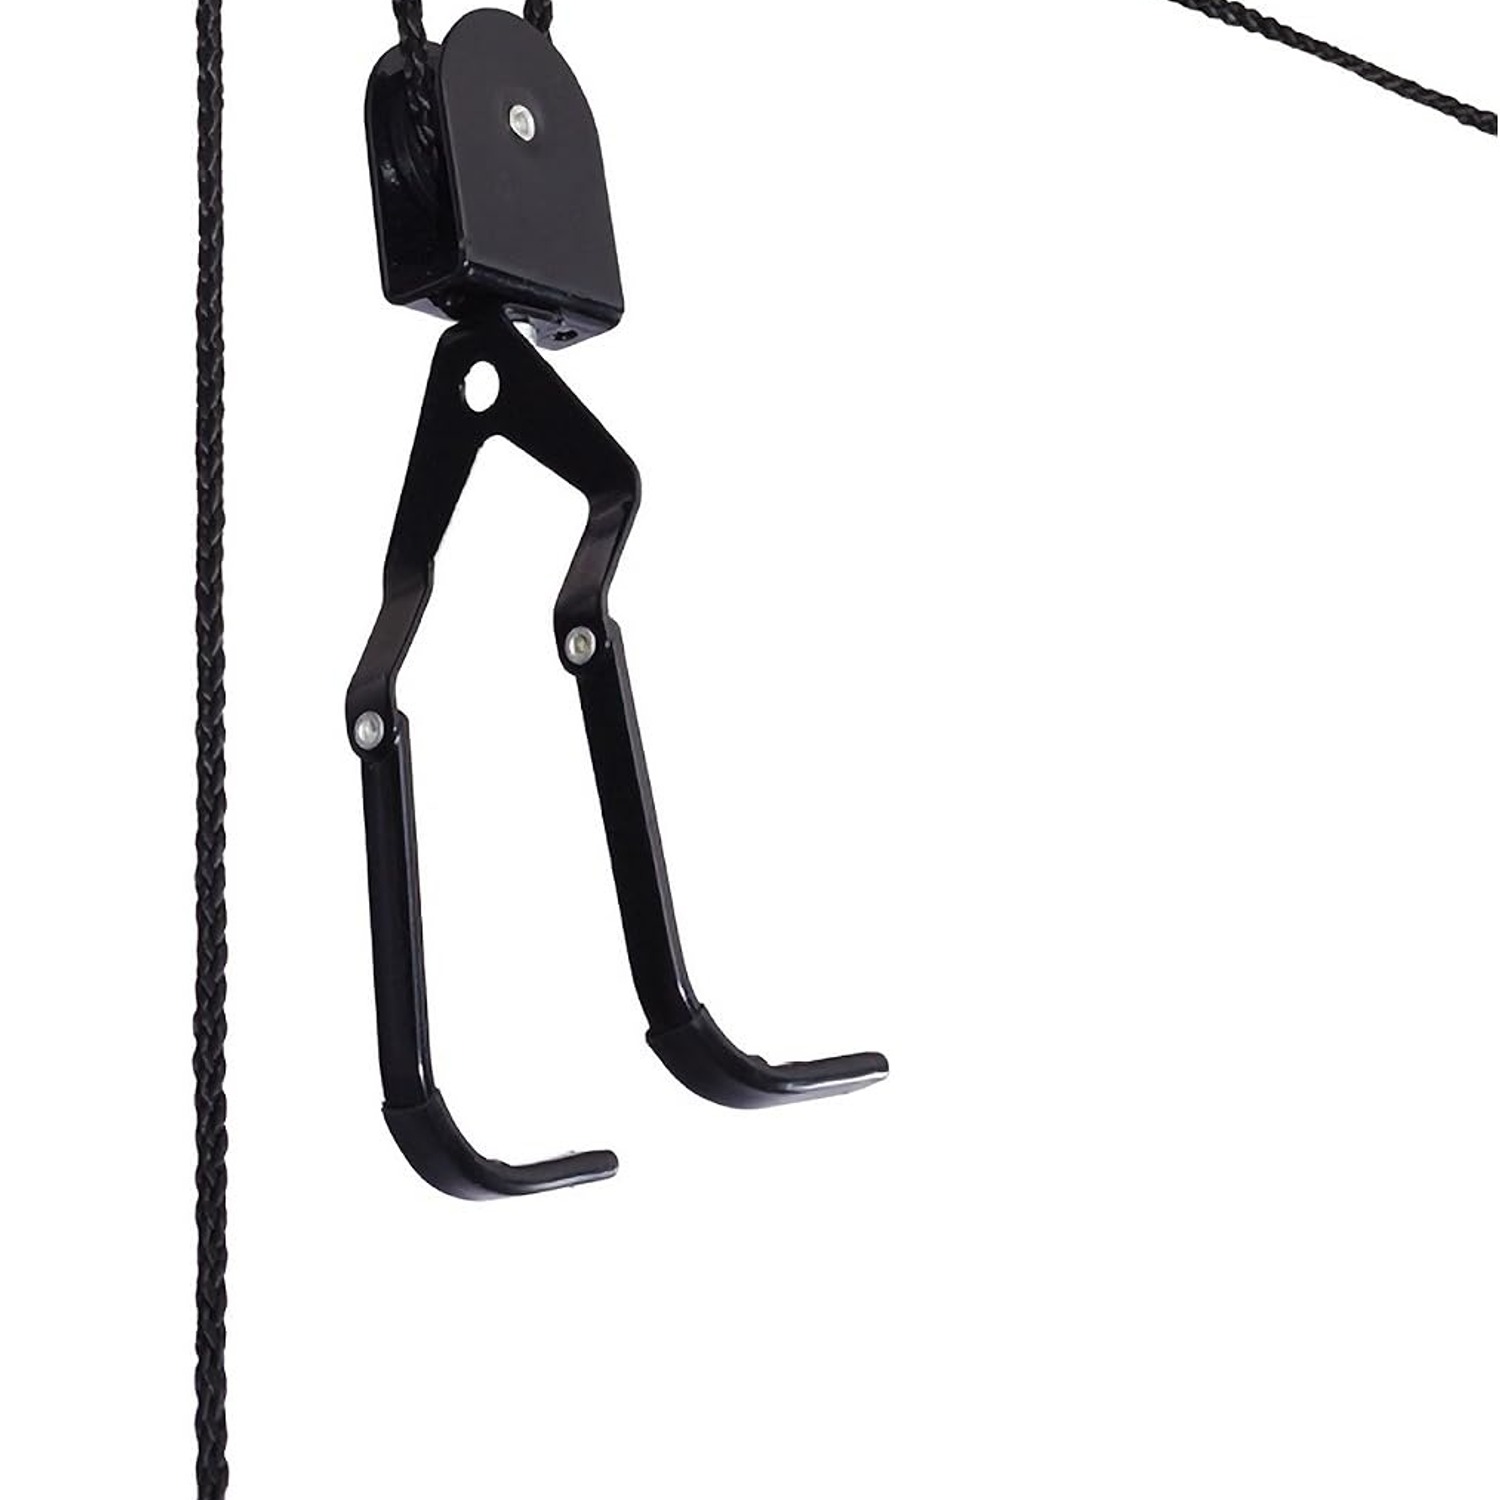
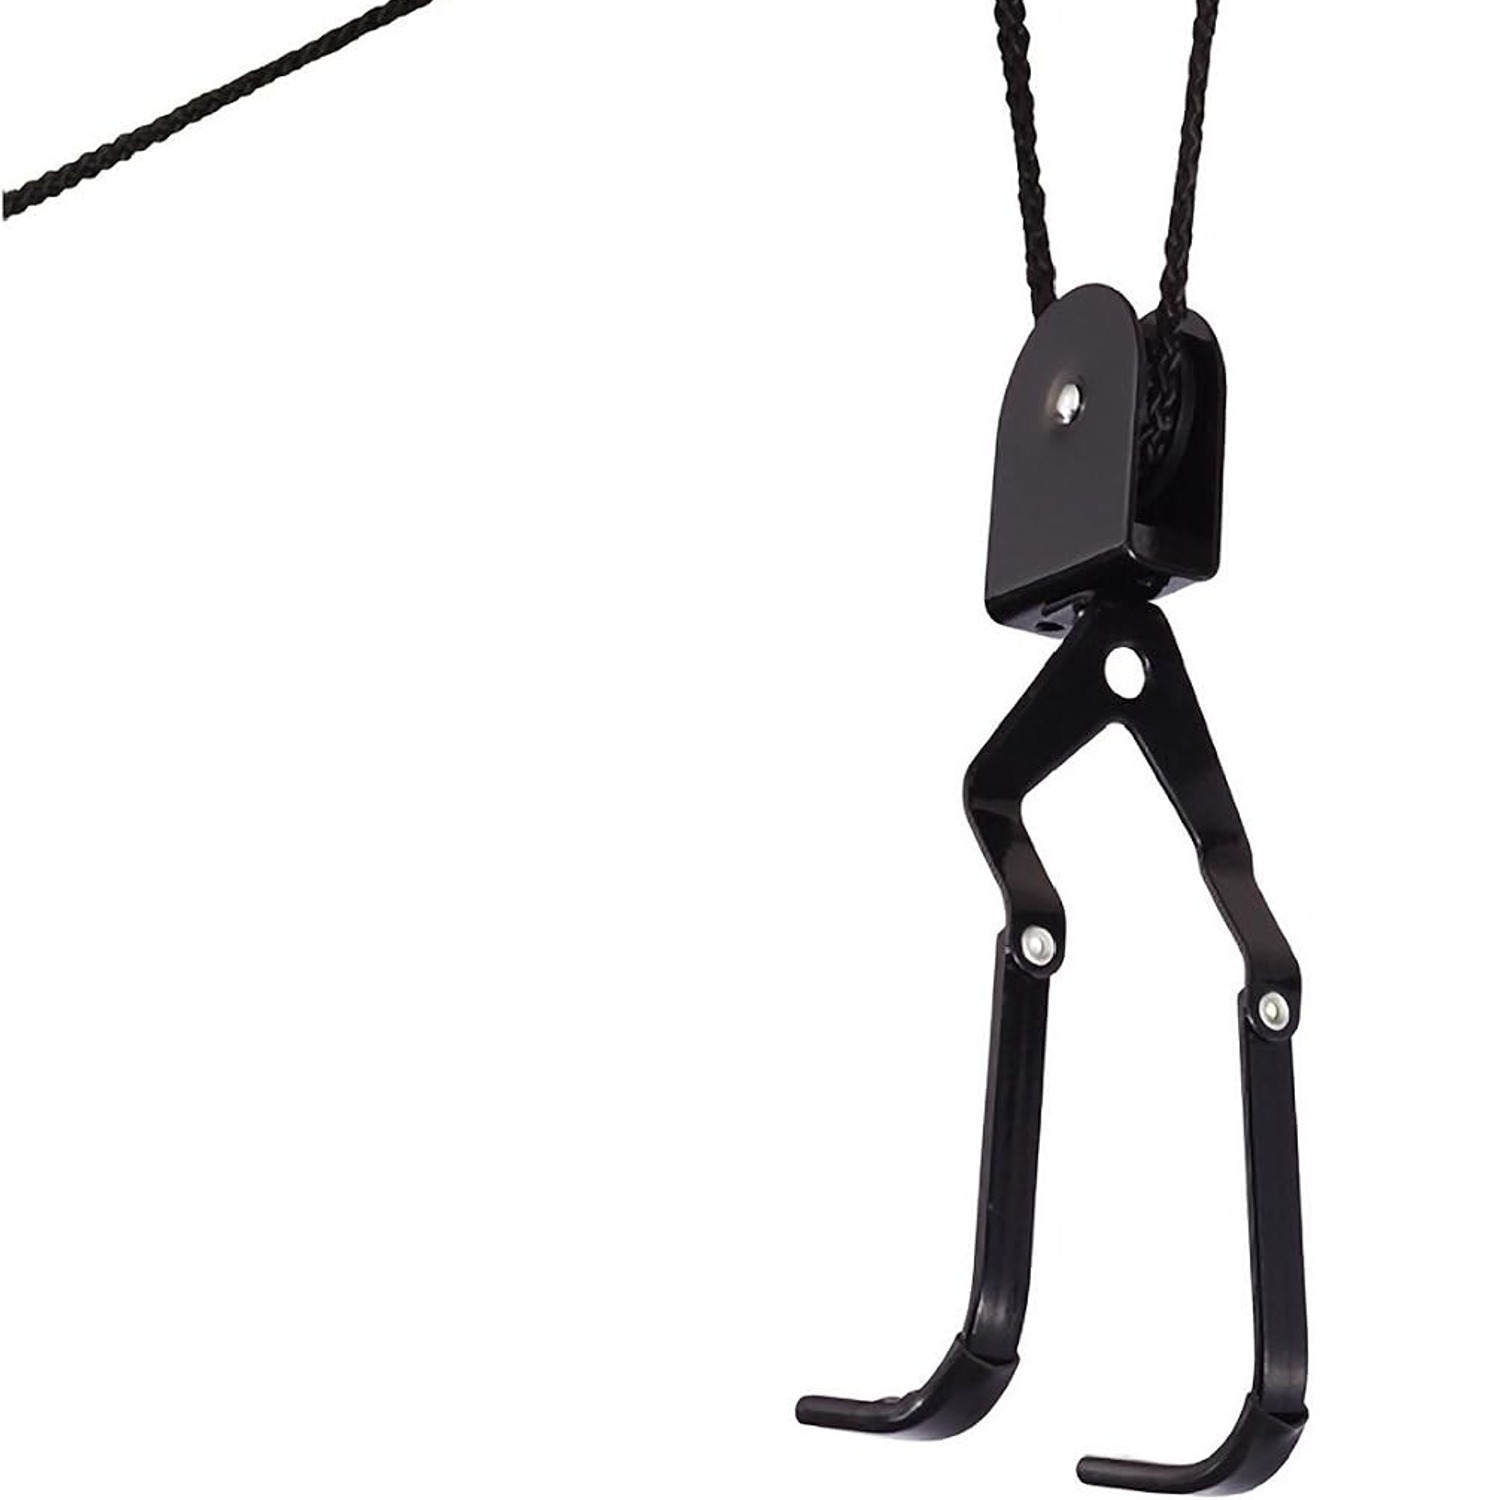
You hook one hook under the saddle and the other under the handlebars, so the bike hangs level. Then you pull the line, hand over hand, and the bike rises smoothly. When it is where you want it, the rope goes into a locking cleat and stays there. To bring the bike down you release the lock and let the line run back through your hands in a controlled way.
That locking mechanism matters more than people expect. A hoist that relies only on friction can creep over weeks. A proper rope lock holds the load at a set height, which is what you want if the bike is hanging above a car bonnet or near where the kids leave their scooters.
What the rubber on the hooks is for
Bike paint is thin and bike frames are often carbon or thin-wall alloy. Bare metal hooks will mark a top tube in a single lift and keep marking it every time after that. The hooks on this hoist are coated in rubber for exactly that reason. It is a small detail that saves you looking at a scuffed saddle rail for the next five years.
It is still worth checking those coatings once or twice a year. If the rubber has split or worn thin at a contact point, swap the hook out rather than carrying on. A strip of inner tube wrapped around the hook is a reasonable field repair, but a proper replacement is better.
Capacity and what it really means
This unit is rated to 100 lb (45 kg) That is a generous figure for bike storage. A typical road bike sits around 8 to 10 kilograms, a mountain bike maybe 13 to 15, and even a heavy commuter with a rack and panniers rarely gets past 20. You are a long way under the limit with any of those.
Where the number earns its keep is with the other things people hang from a garage ceiling bike lift. An extension ladder, a kayak, a roof box, a set of winter tyres bundled together. Those get heavier fast. The rule of thumb is to stay comfortably under the rating rather than creeping up to it, because the rating assumes a perfect install into sound timber, and your ceiling may not be perfect.
Capacity is also only as good as the fixing. A hoist rated to 100 lb (45 kg) screwed into plasterboard is rated to nothing. The load path runs from the hooks, through the ropes, through the pulleys, through the mounting plates, through your screws and into the timber. The weakest point in that chain decides what the system can actually carry.
Getting the install right
Start by finding your joists. A stud finder works, or you can look for the nail lines in an unlined timber ceiling. Mark two points along the same joist, or across two parallel joists, spaced so the hooks will sit roughly where the saddle and handlebars are on your bike. Hold the bike up roughly where you want it and have someone measure. Guessing the spacing is the most common install mistake.
If the joist spacing does not line up with where you need the hooks, screw the mounting plates to a length of timber first, then fix that timber across two or more joists. This spreads the load and gives you freedom to position the hooks anywhere along its length. It is a standard approach and takes ten extra minutes.
Use the included hardware and drive the screws into solid timber, not into a ceiling lining board. Pilot holes help in older hardwood. Once everything is up, test it with the bike close to the ground first. Lift it half a metre, lock it off, and give it a firm tug. If nothing shifts, go the full height.
Check your clearance before you commit. Raise the bike and then open the car boot, the roller door and anything else that swings. The number of people who discover their garage door tracks run exactly where the bike now lives is higher than you would think.
Who this suits
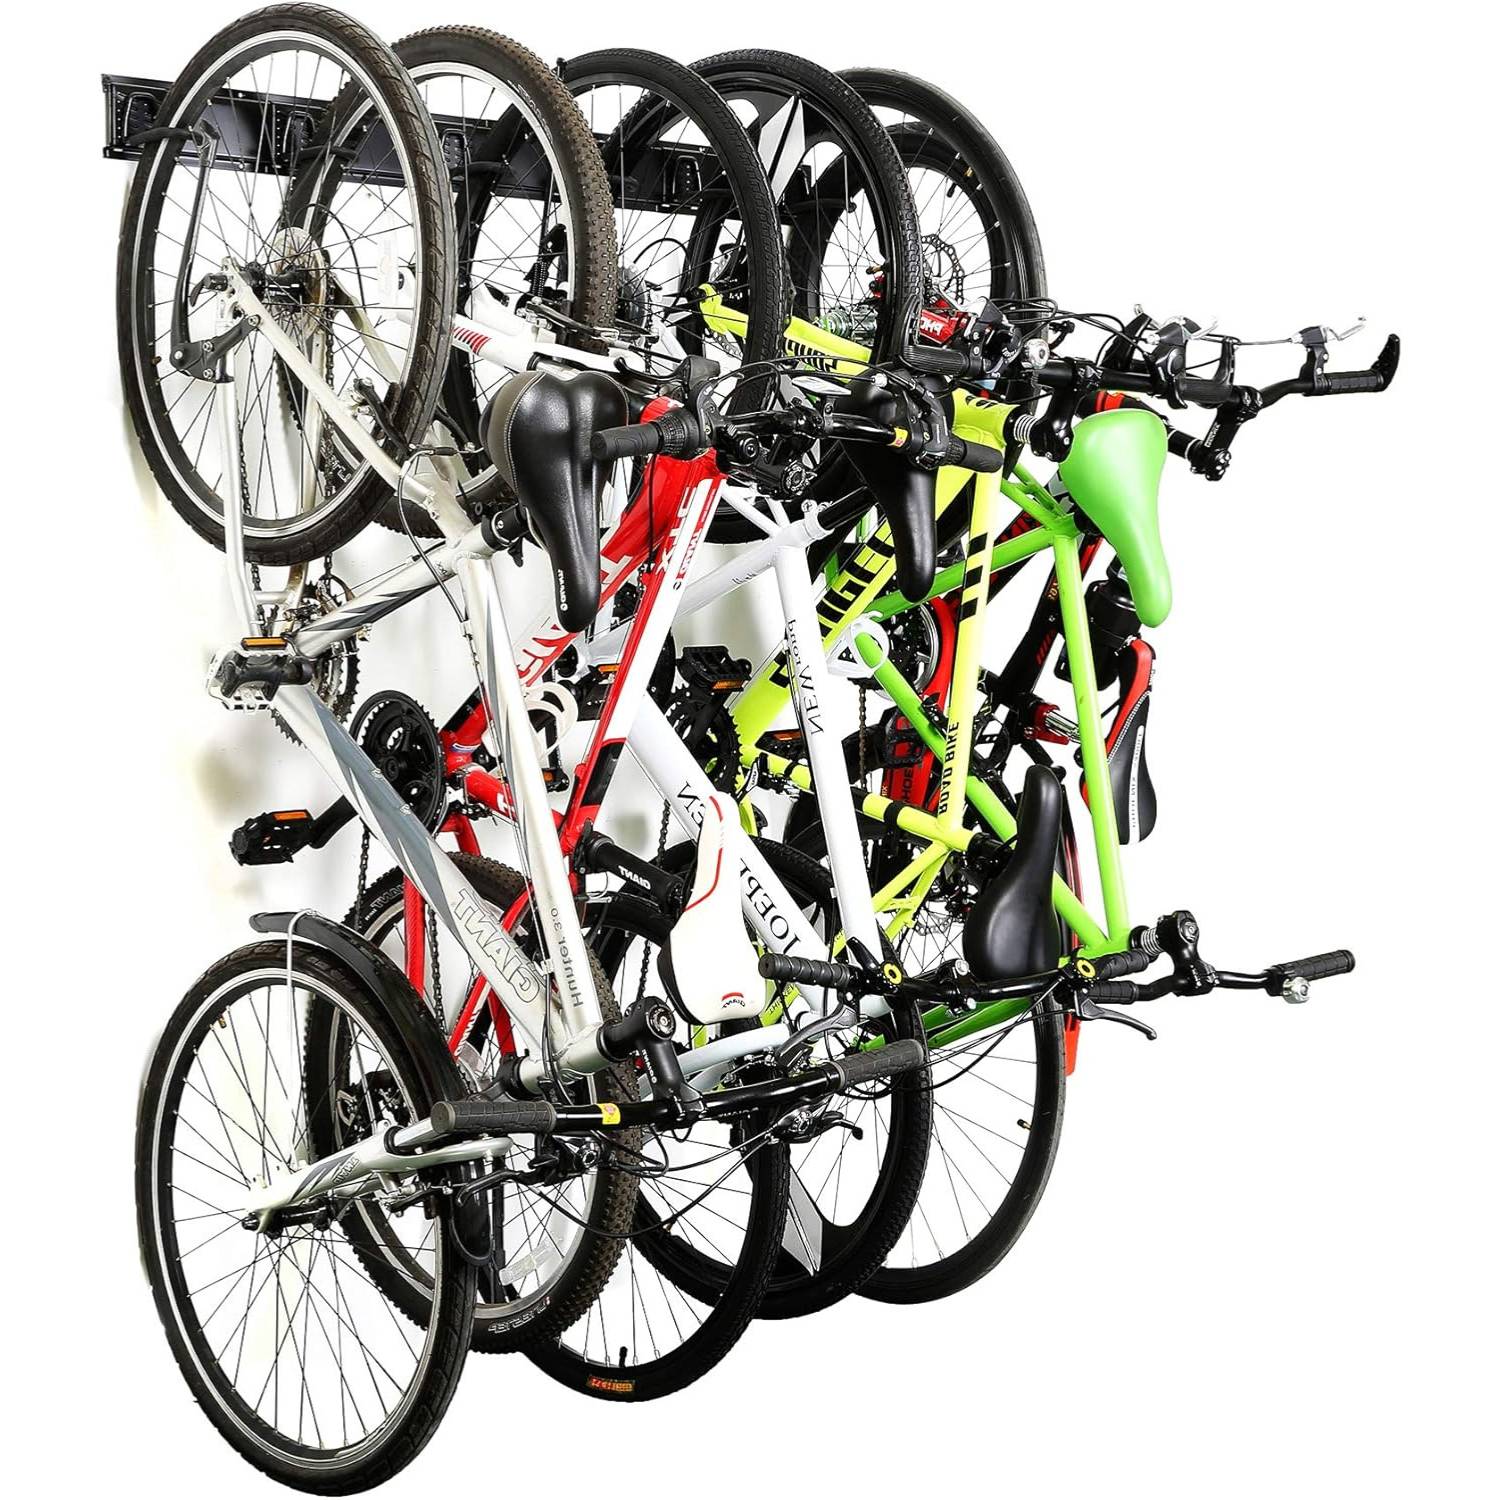
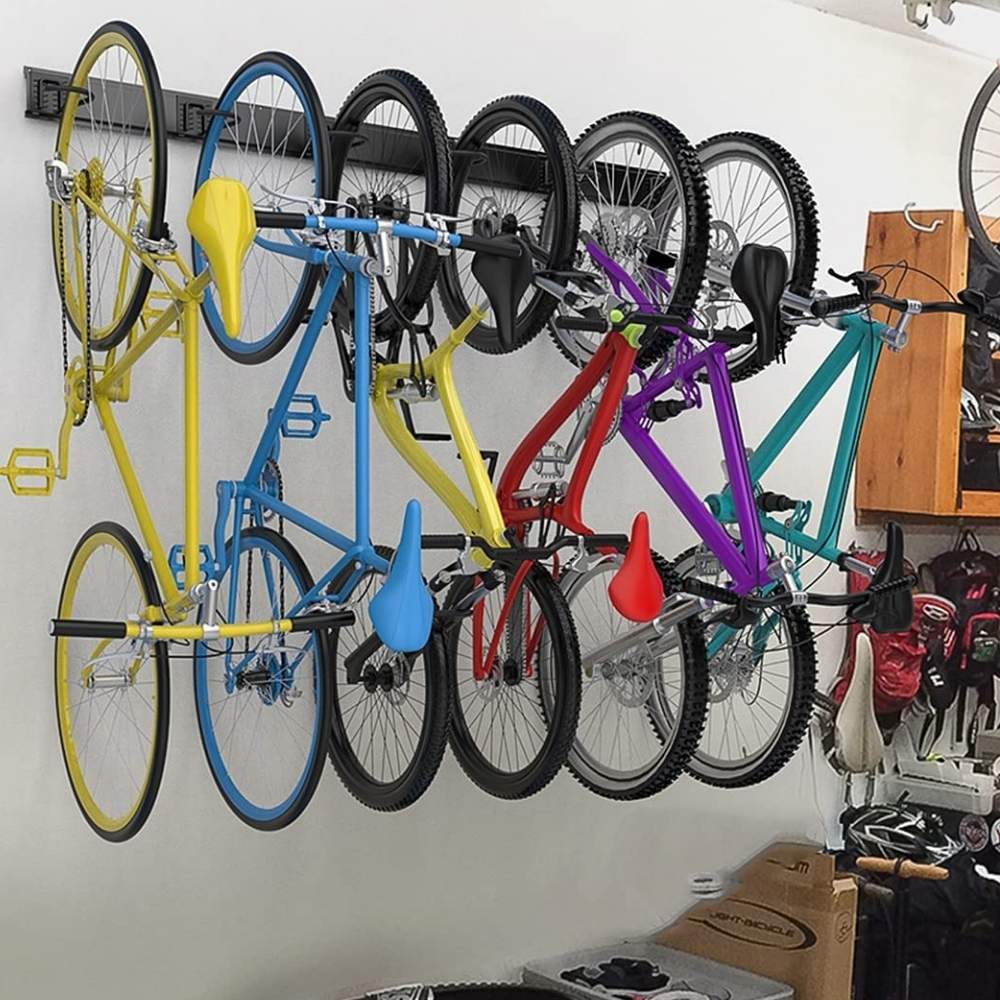
If you own one bike and a garage with exposed joists, this is close to the simplest storage upgrade available. It suits renters reasonably well too, since the fixing points are small and easy to fill when you leave. Commuters who use the bike daily might prefer a wall hook at shoulder height instead, because hoisting is a few seconds slower than grabbing a bike off a wall. For a bike that goes out on weekends, overhead is ideal.
It also suits anyone with a ladder problem. Ladders are long, heavy and refuse to lean anywhere useful. Hanging one from a ladder hoist for the garage clears a whole wall.
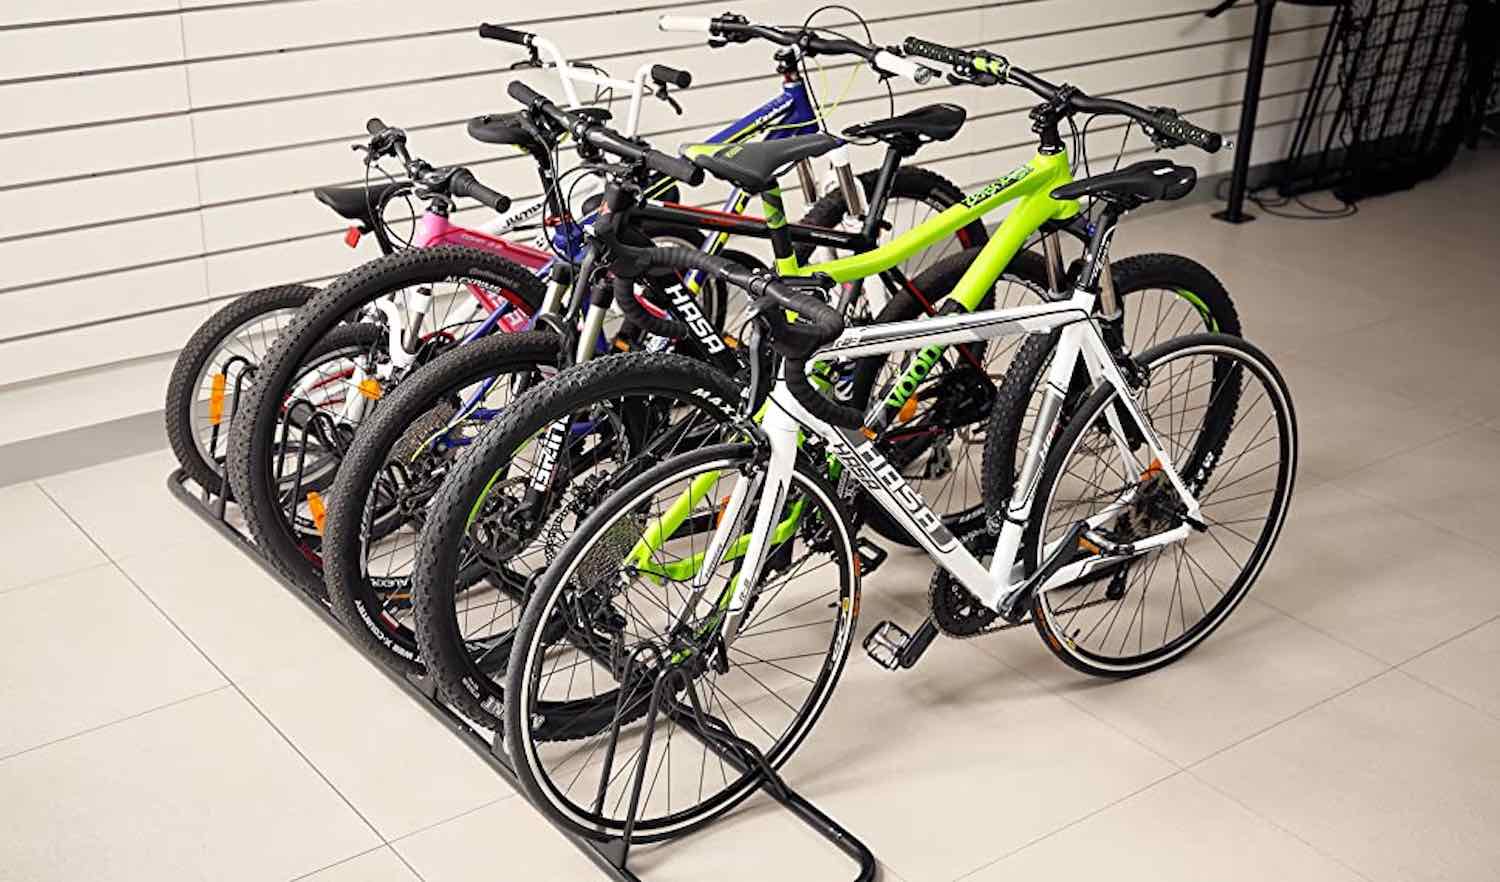
Where it is less suited is a low garage, a plasterboard-only ceiling with no accessible joists, or a situation where you need to get the bike down ten times a week. In those cases a floor stand or a wall mount is the better answer.
Care and inspection
There is not much maintenance, but there is some. Dust builds up on the pulleys and will eventually make the rope run stiff, so wipe them when you think of it. The rope is the part that wears. Run it through your fingers every few months and feel for thin spots or fuzz. A rope that looks tired should be replaced, not nursed along.
Check the mounting screws once or twice a year. Timber moves with the seasons, and a screw that was tight last summer can back off slightly. Half a turn with a driver is all it usually takes.
Keep it indoors. Damp is what kills ropes and rusts hardware, and this hoist is specified for indoor ceilings. A dry shed or garage is fine. An open carport in coastal air is not.
The short version
A bike ceiling hoist takes a bike off your garage floor and puts it somewhere that costs you nothing. This one uses a pulley system so the lift is easy, rubber hooks so your paint survives, and a rope lock so the bike stays where you parked it. It is rated to 100 lb (45 kg), made from alloy steel and polypropylene, and comes with the hardware you need.
Before you order, do three things. Measure your ceiling height, confirm you can get into a joist, and check what swings or parks underneath. Get those right and the install is a short afternoon job with a long payoff.